Posts tonen met het label trees. Alle posts tonen

6 okt 2011

Final maple selfbow design, finishing the bow.

Hi,

Yesterday I posted some images of the maple tree staves and how I started on making a flatbow/selfbow. The rough shape of the bow is ready, now it is time to tiller the limbs by using my tillering tree.
It's made of a simple 2 by 4 inch beam with markings every inch. The top of the tillering stick holds the bow in a horizontal position.

Before you start to tiller on the stick, you should floortiller the bow, so you can see if the limbs are bending. If the limbs are too strong, you should remove some wood on each limb and tiller it again:


Here's a video on how to tiller your bow. This is part 4 of a series, you can watch all episodes on youtube:


After a few hours of tillering the limbs were bending pretty evenly, so I sanded the bow with different increasingly finer sandpaper.
Finally I wanted to put some color to the almost white bow and decided to use brown shoeshine. A couple of coatings were rubbed in and it was finished with 4 layers of clear lacquer.
I wrapped the handle with a piece of brown leather and the top and bottom of the handle with nylon string.

The bowstring is made of two red strands twisted together. The bow has a drawweight of 30 LBS at 28 inches. Here are some pictures of the final bow:


I'm working on a new bow at the moment, so maybe I can show you some more pictures soon.

Kind regards, Mark


5 okt 2011

How to make a maple flatbow from a cutdown tree

Hi,

In one of my previous posts I showed you how I made a hazel bow for my son. This flatbow was made from a branch of hazel with a diameter of roughly 2 inch.

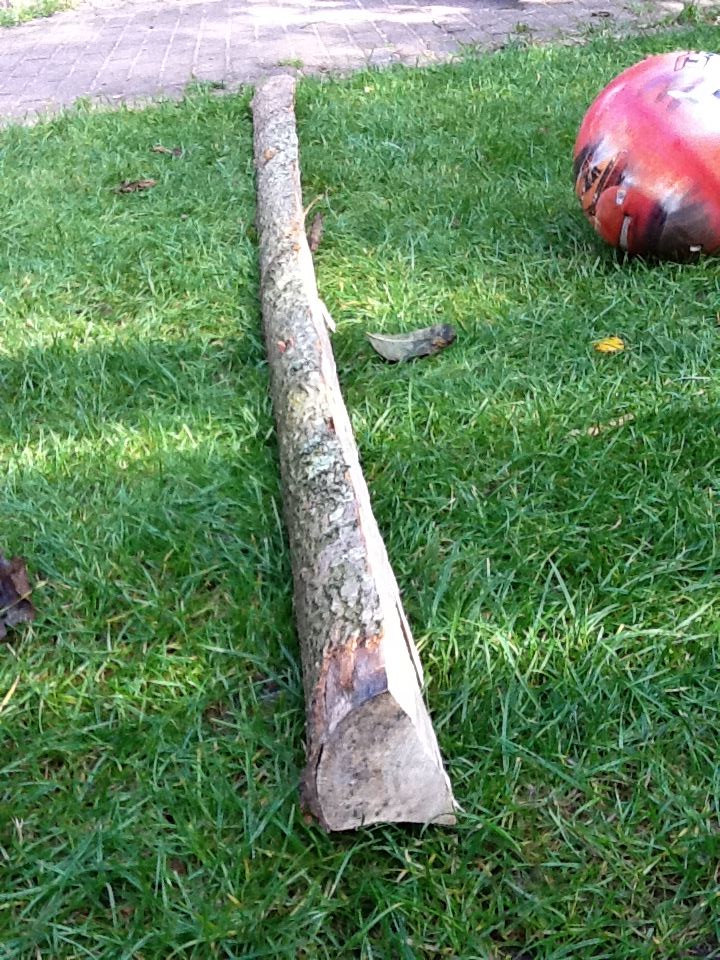
The bow building bug really got me, so I wanted to build a full size bow of 68 inch. I was really luck to get offered some nice trees/trunks with a diameter of 8-10 inches. My parents just moved to a new place and in their garden there were some maple trees. Nice straight ones of more than 3 meters. Once they were cut down I picked them up and tried to split the logs using an axe and some wedges.

This was some really hard work and it took me over one hour to split the 3 trunks in 12 staves. Only half of the staves were suitable for bowmaking, the other pieces were twisted too much and will be used as logs for the fireplace.

Here are a few pictures of the staves I cut:


Before I could use the staves, they needed to be dried. Normally it would take a few months, but to speed up the process I made a heatbox/hotbox from insulation board, duct tape and a few 75 Watt bulbs. The temperature gets up to around 150 degrees Fahrenheit (65 Celsius) and it takes down the drying process to around one or two weeks.

Here is a perfect description on how to make a hotbox on Poor Folk Bows

Once the staves were dry I drew the layout of the bow on the stave and roughly cut out the shape with my drawknife:


I used my draw knife and rasps to get both limbs down to the width and thickness that I needed and then put it on my tillering stick to see if the limbs were bending equally.
Here's a video on how to make and set up your tillering stick:


And here's a nice video on how the actual tillering process works.
You can see more videos on the website of Derek Hutchinson, a British bowyer


That's it for now, I will get back with new pictures of how the bow design progresses.

Any questions? Just let me know.

Kind regards, Mark