Posts tonen met het label staves. Alle posts tonen

14 okt 2011

Maori tribal flatbow finished design

Hi,

Today I finished my selfbow from a maple stave. I made a Maori inspired design on the limbs with a black marker. The design is based on the Maori fern or koru, the national symbol used in many tribal tattoos. As a graphic artist I'm inspired by the Mauri Kirituhi style and I create tatoo designs and custom tattoos. You can find my tattoos and graphics on my website storm3d.com.
This bow is more of an arts and crafts project that I really enjoy when not drawing tatoo designs.

Once the designs were drawn on the bow, there was a really heavy contrast between the black marker and the white of the maple wood. To lower the contrast I decided to stain the wood with some brown shoeshine/polish. Finally I added 5 layers of clear varnish or lacquer and polished it for a smooth finish.

Here's a video of the final bow:


At my local bow I shot the bow for the first time and it was quite powerful, around 30 lbs at 28 inches. The draw starts really smooth, but at the end it has a sudden increase of drawweight. It feels a bit like a horsebow.
The handle has no arrow rest, so it's a bit tricky to position the arrow. I might add it later with a leather wrap around the handle section.

If you have any question on how to make a flatbow, selfbow or other projects I have been working on, just send me a message, or leave your comments below!
5 okt 2011

How to make a maple flatbow from a cutdown tree

Hi,

In one of my previous posts I showed you how I made a hazel bow for my son. This flatbow was made from a branch of hazel with a diameter of roughly 2 inch.

The bow building bug really got me, so I wanted to build a full size bow of 68 inch. I was really luck to get offered some nice trees/trunks with a diameter of 8-10 inches. My parents just moved to a new place and in their garden there were some maple trees. Nice straight ones of more than 3 meters. Once they were cut down I picked them up and tried to split the logs using an axe and some wedges.

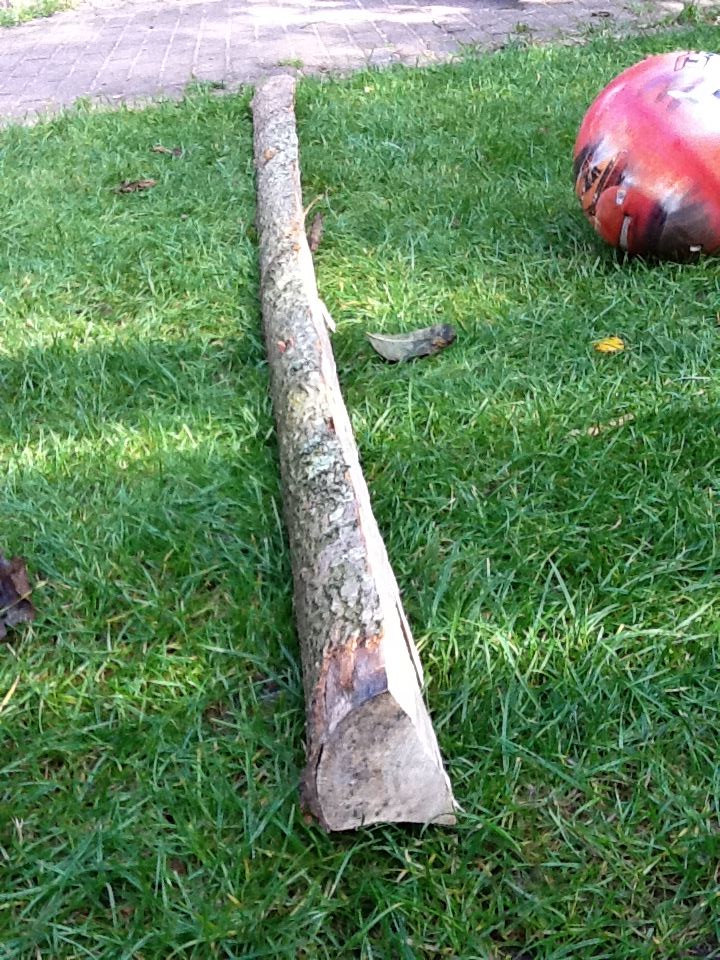
This was some really hard work and it took me over one hour to split the 3 trunks in 12 staves. Only half of the staves were suitable for bowmaking, the other pieces were twisted too much and will be used as logs for the fireplace.

Here are a few pictures of the staves I cut:


Before I could use the staves, they needed to be dried. Normally it would take a few months, but to speed up the process I made a heatbox/hotbox from insulation board, duct tape and a few 75 Watt bulbs. The temperature gets up to around 150 degrees Fahrenheit (65 Celsius) and it takes down the drying process to around one or two weeks.

Here is a perfect description on how to make a hotbox on Poor Folk Bows

Once the staves were dry I drew the layout of the bow on the stave and roughly cut out the shape with my drawknife:


I used my draw knife and rasps to get both limbs down to the width and thickness that I needed and then put it on my tillering stick to see if the limbs were bending equally.
Here's a video on how to make and set up your tillering stick:


And here's a nice video on how the actual tillering process works.
You can see more videos on the website of Derek Hutchinson, a British bowyer


That's it for now, I will get back with new pictures of how the bow design progresses.

Any questions? Just let me know.

Kind regards, Mark